
My favorite Afternoon Activity from last week was definitely the leaf fairies Kinsley and I made. They were so fun and easy to make. We got the idea from Twig and Toadstool which has a lot of incredible ideas we'll be using in the future. First you gather up your supplies:
Felt
Pipe cleaners
Wooden beads
Acorn Caps
Yarn or wool roving for hair
Scissors
Glue - You can use Elmer's, fabric glue, hot glue, etc. We used hot glue because I thought it would help the acorn caps stay on a bit better and we're obsessed with the hot glue gun around here.
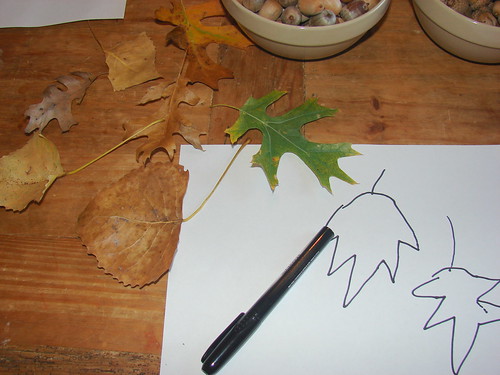
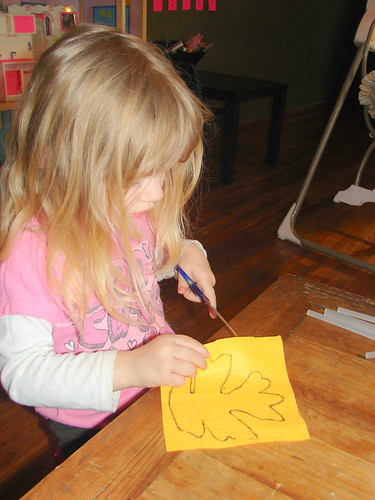
We started out seeing if we could draw some pictures of leaves we found in the yard to give us an idea of what we wanted our fairies to look like. You can totally skip this step if you are awesome enough to free hand your leaves or you can print a template off the internet.
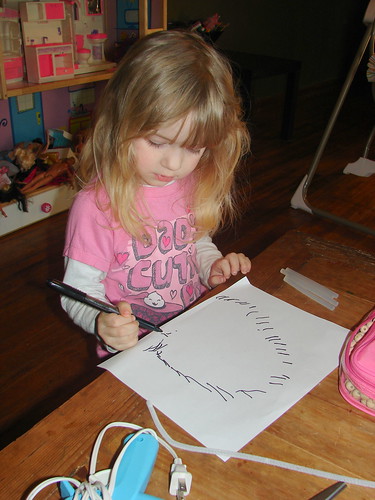
And then we had to do a little free drawing as well. This is what the leaves look like when they are falling off the tree in case you didn't know.
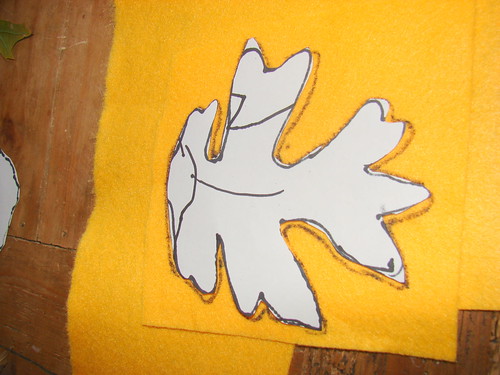
For Kinsley's first fairy I cut out a template and we traced around it directly onto the felt. This would be a much better idea if you used a fabric marking pen because it's fairly likely that some of the marker will end up showing. If you're doing this with older kids of course they can do all of this by themselves. For younger kids, if you're going to make several, I recommend cutting out the leaf shapes ahead of time. She got a bit impatient while waiting for that part.
But it worked out okay because I was able to cut out the rest of our leaves while she was cutting out hers.
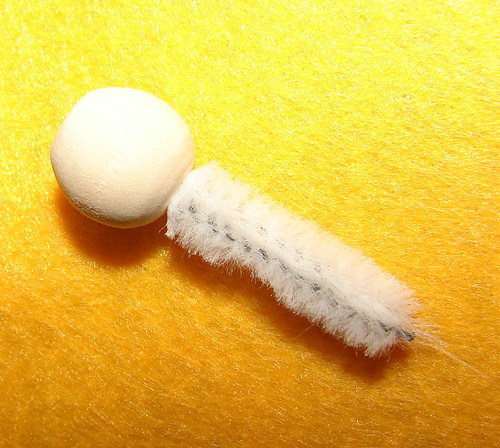
Then you take your pipe cleaner, fold it in half and insert it into your wooden bead. You don't need to use glue if the hole in your bead is small enough. Ours fit snugly inside so we didn't worry about it.
See? This is how your fairy should look now.
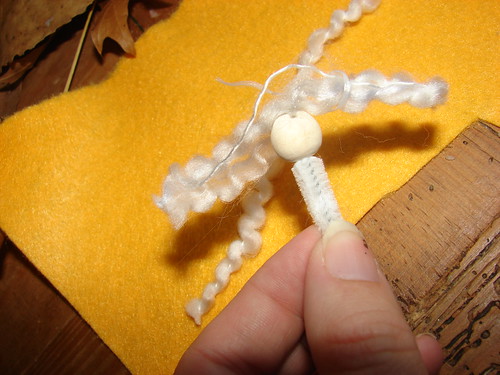
Then you pick out your fairy's hair color and style. Kinsley thought this yarn looked curly like her hair so that's what she went with. Just cut the yarn to your desired length and glue on as much as you'd like.
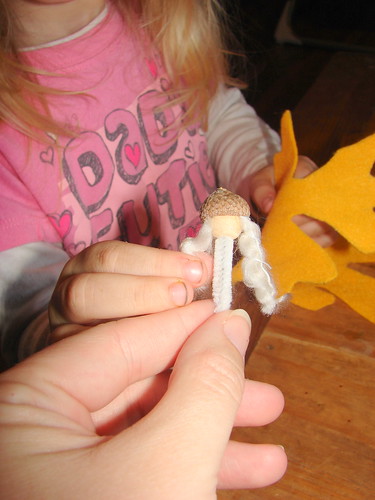
Next pick out the perfect acorn hat and glue it to your fairy's head. Make sure you use plenty of glue on this step.
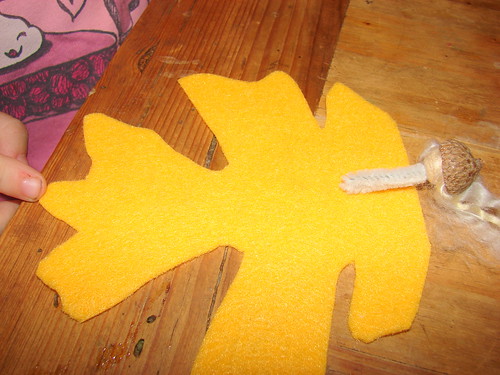
Then glue your fairy's body to one of your leaf pieces.

Sandwich the other leaf piece on top and glue around the edges. (Make sure you glue the top edge well.) And you have your completed leaf fairy!

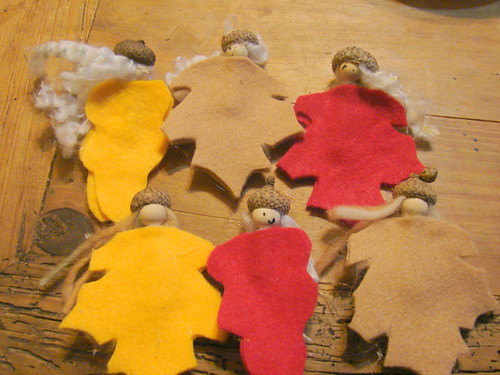
This is my absolute favorite one that she made. We started out making these as a gift to give to Grandma but I had to keep this one with the ones I made for our house. Doesn't she look just like a little French Fairy? I love love love her! And I thought it was awesome that Kinsley decided at the last minute to add faces to hers and made each one a different face. So much fun.
Now get to making your own leaf fairies, but I'll warn you they're pretty addictive. I'm already thinking we'll have to make some with different shapes for every holiday!
Love love love . Those will look great for Thanksgiving. KINSLEY you did a great job. Your the best.
ReplyDelete