We're counting down to Christmas and filling our days with lots of Christmas themed Afternoon Activities. This handprint tree is one of my faves so far.
First trace their little handprints onto green construction paper. You'll need 10 handprints to make your tree.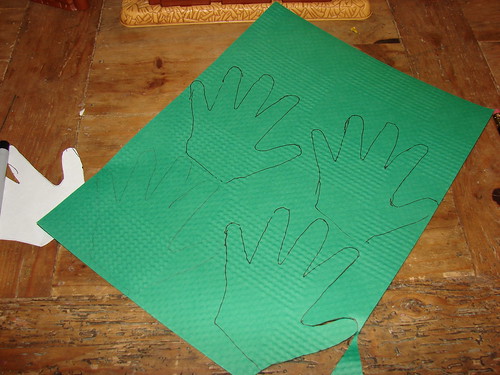
I had this neat textured paper that I never knew what to do with until now. You can see a little template of her hand out of copy paper that I made. I traced her hand onto that and then cut the hands out the night before so she wouldn't have to wait for them. Although they could start gluing while you're cutting or you could make them cut their handprints out themselves to make it last a bit longer. Then cut out a tree trunk and a star to top your tree with and you're ready to start gluing.
(I chose to have her glue the tree onto a large sheet of paper in an effort to keep her from gluing it to the table, lol. I would be cute without the background though. )
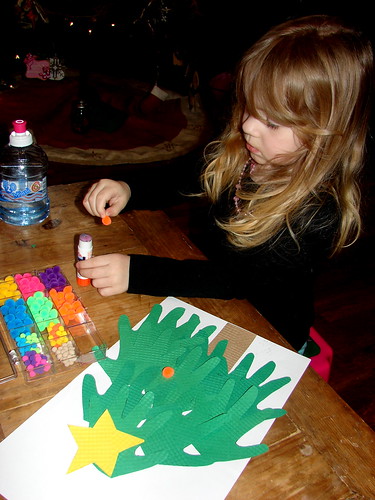
Then have them glue the trunk to the background.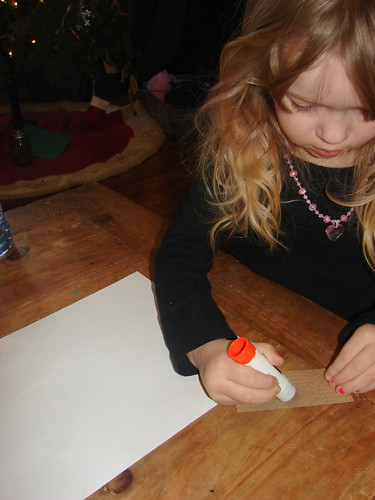
(Make sure you are taking your work VERY seriously)
Then they're ready to start gluing the handprints down. They'll need four handprints for the bottom row, three for the next, then two and one for the very top. Make sure the handprints are placed with the fingers pointed down.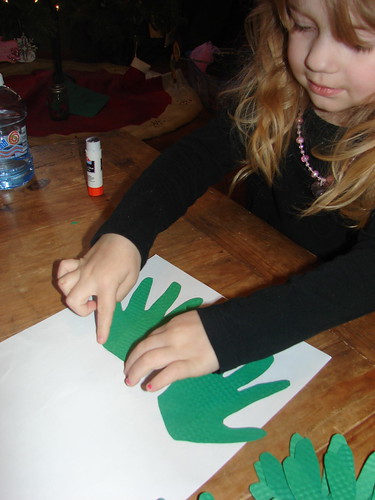
Once all the handprints are in place its time to add the star.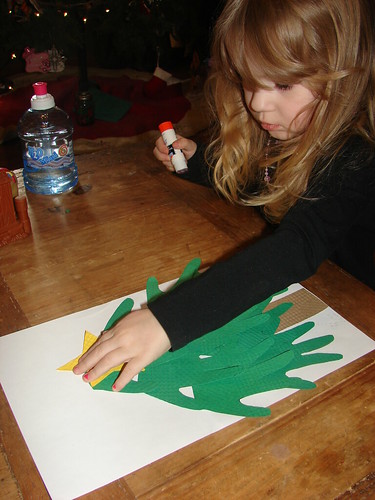
After the tree is together let them decorate and add their ornaments. Kinsley chose these neon colored pom poms. and we learned that you can't glue them on with a glue stick.
So we had to bust out the hot glue gun (low temp). It's quickly becoming one of her favorite crafting tools. Love that.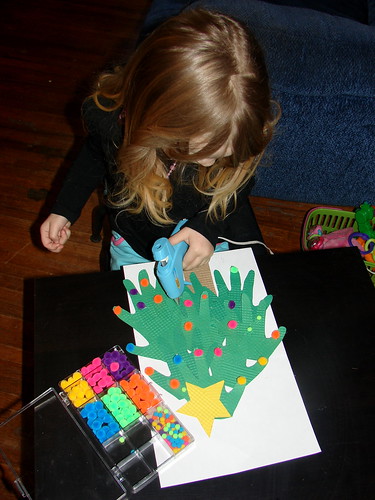
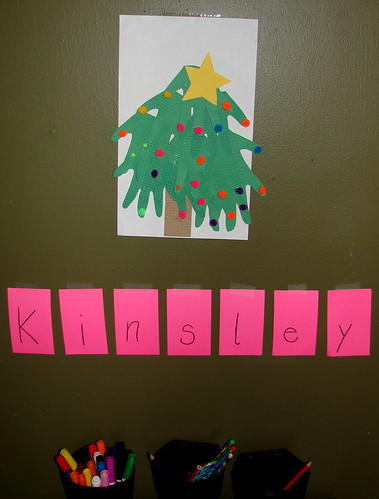
Then be incredibly proud of the end product and tape it to the wall!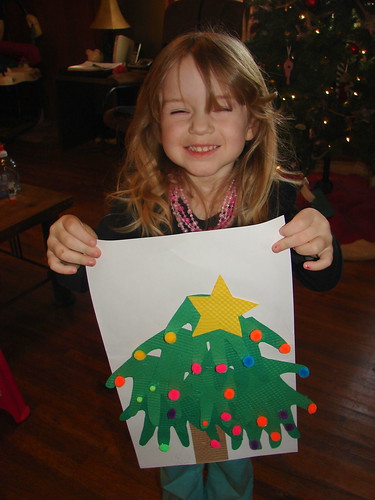

she looks so proud! <3 her
ReplyDeleteShe really was. She did everything herself (including the hot glue) and was soooo excited!
ReplyDeletethat is def. something to be proud about, she did a great job!
ReplyDeleteSuper cute, and a great idea! Merry Christmas! Heather
ReplyDelete