
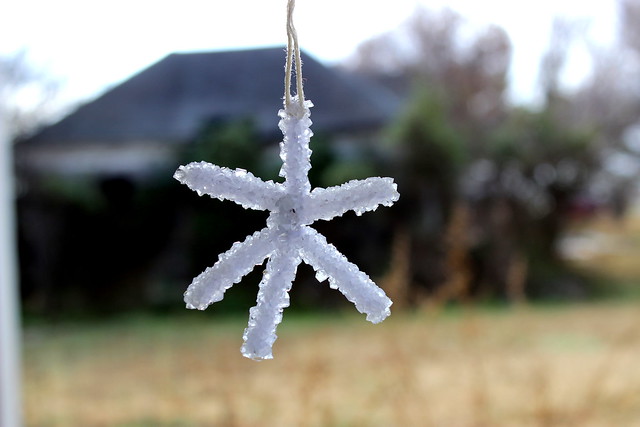
One of our activities during the first week of Advent was making these "crystal snowflakes" together. This is such an easy project that can be done by any ages, just be careful with little ones around the Borax. Our snowflakes are going on the Christmas tree, but these would make great additions to gift wrapping, or small gifts to give loved ones.
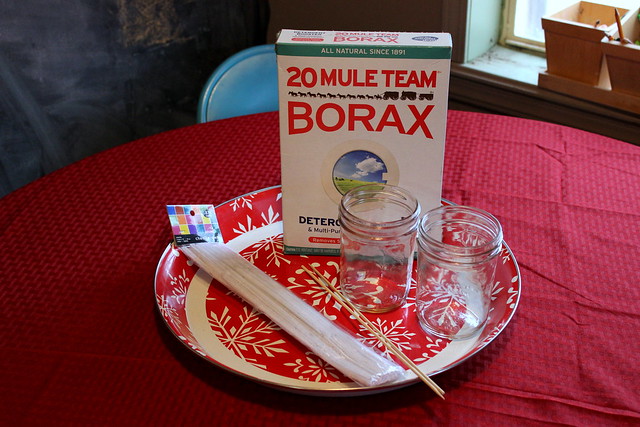
You only need a few ingredients for this project which makes it even better.
Supplies:
Borax Detergent
Jars, bowls, or other container for growing your crystals
Pencil, skewer, or even just a stick
Pipe cleaners
String for hanging
Supplies:
Borax Detergent
Jars, bowls, or other container for growing your crystals
Pencil, skewer, or even just a stick
Pipe cleaners
String for hanging
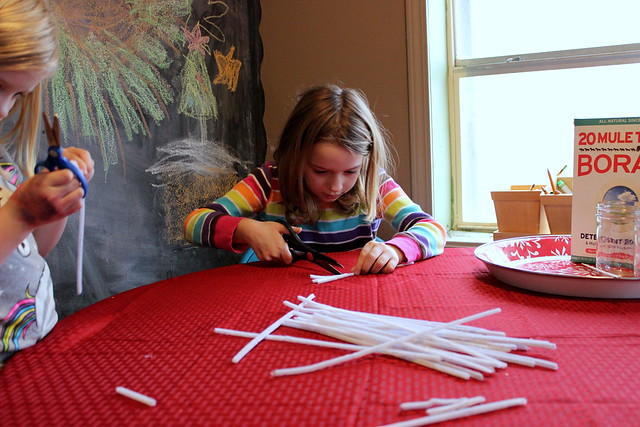
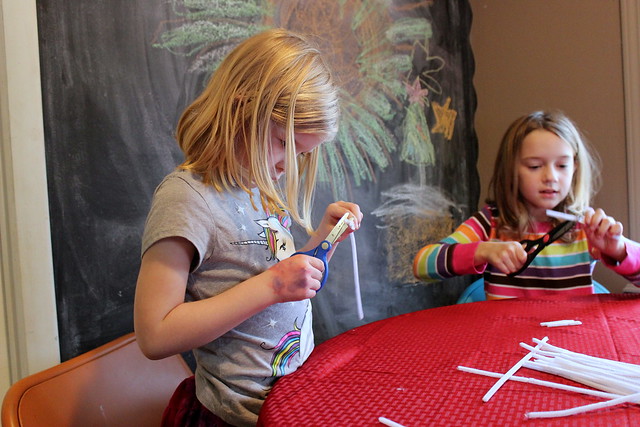
We used white pipe cleaners, but I've seen them done with different colors and the result is beautiful.
- Have the kids take the pipe cleaners and form them into their snowflake shapes. Any shape will come out beautifully crystallized so no need to worry about perfection here.
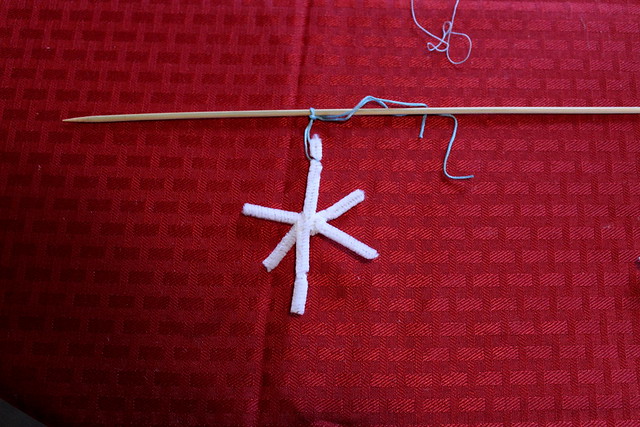
2. Once you have your snowflake formed, use your string to tie it to your stick. Make sure you have a long enough string to suspend the snowflake in the solution you're about to make. Just keep in mind, anything inside the solution is likely to be crystallized.
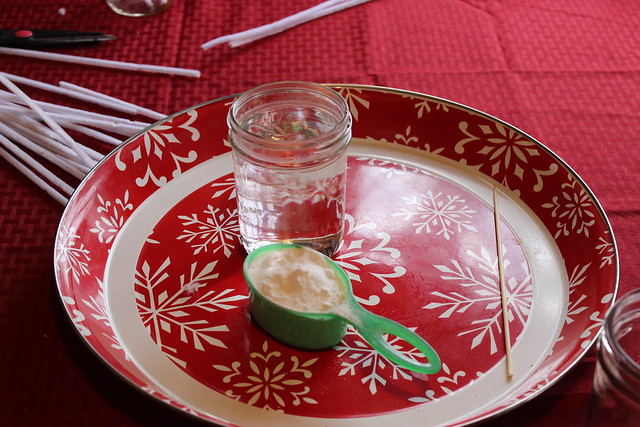
3. Make your borax solution, by mixing 1/3 cup of borax with 2 cups of hot water. It doesn't have to be exact, just somewhere in that range. I've seen directions say 1/2 cup but I found that to be way more than necessary. Stir until the borax is completely dissolved and your water becomes clear.
3. Make your borax solution, by mixing 1/3 cup of borax with 2 cups of hot water. It doesn't have to be exact, just somewhere in that range. I've seen directions say 1/2 cup but I found that to be way more than necessary. Stir until the borax is completely dissolved and your water becomes clear.
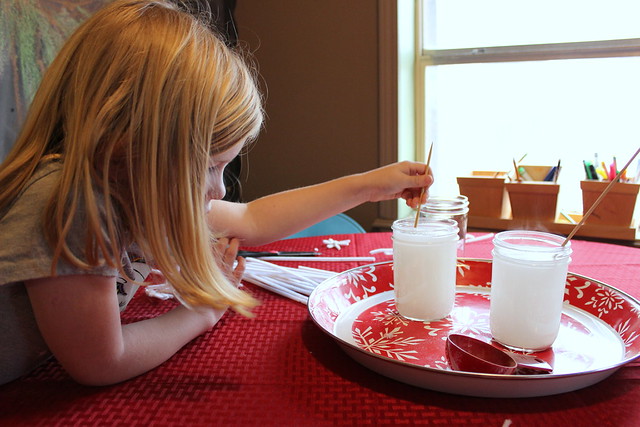
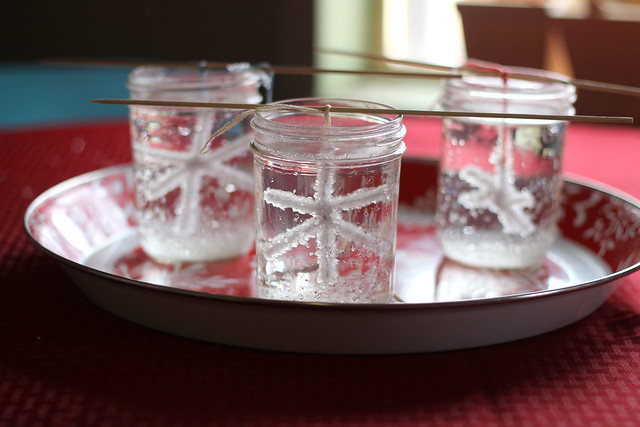
4. Suspend your snowflakes in the borax solution making sure that they are not touching the bottom or sides of your container.
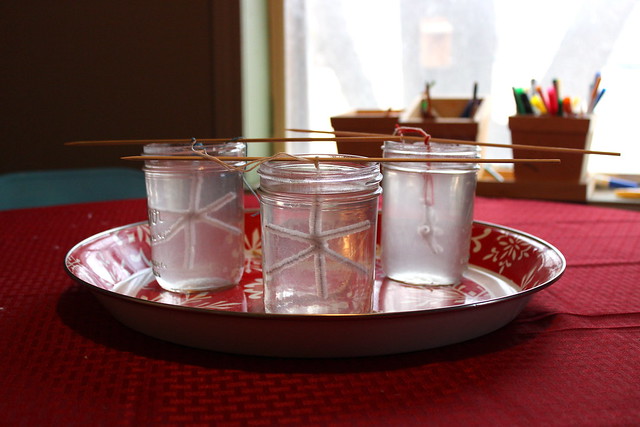
5. Let them sit for several hours or overnight to form.
That's all you have to do. We did ours in the early evening and left them overnight, but within a couple of hours you could already see the crystals forming.
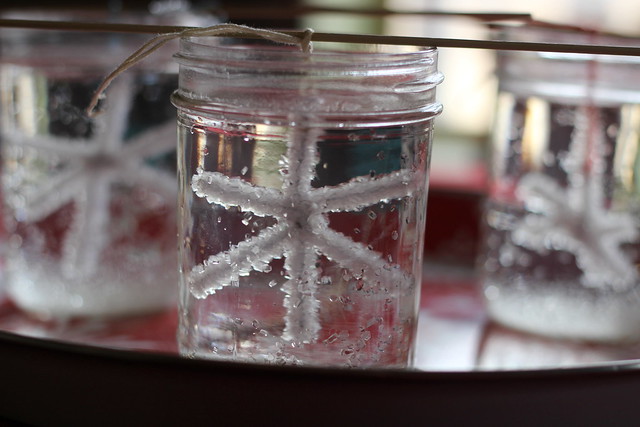

Once the crystals have formed take your snowflakes out of the solution and let dry. It's as easy as that. It was so exciting to wake up in the morning and find that we had beautiful crystal snowflakes to hang on our tree.
Small disclaimer: Make sure you explain several times that these are only for decoration and even though they look like rock candy, they are not edible. Thankfully no one here tried to eat them, but it wasn't easy to convince them at first.
Small disclaimer: Make sure you explain several times that these are only for decoration and even though they look like rock candy, they are not edible. Thankfully no one here tried to eat them, but it wasn't easy to convince them at first.
No comments:
Post a Comment